How to set your printer
| OS | Printer | Image Software |
|---|---|---|
| Windows 7 64bit | Canon PIXMA PRO-10 | Adobe Lightroom 5 |
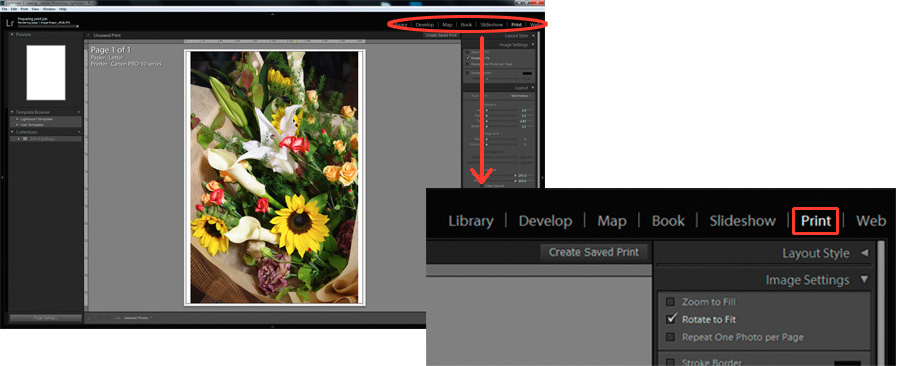
1. Open the Print Module.
Select Print from the menu in the upper right.
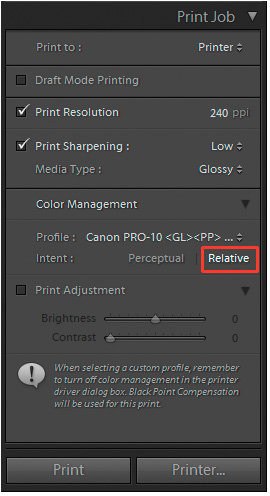
2. Color Management Settings
2-1. In the Print Job panel go to Color Management and then click on Profile. 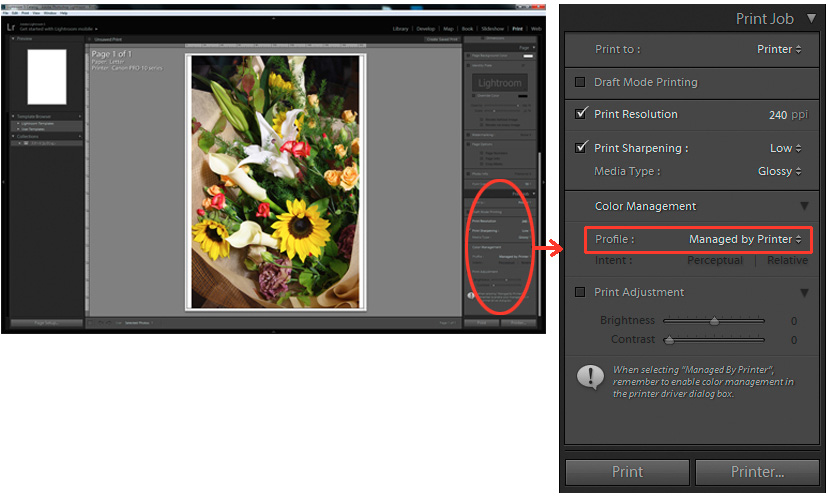
2-2. Select the printer profile from the pull down menu. (ex. Canon PRO-10 <GL><PP> 1/2 Photo Paper Plus GlossyGold)
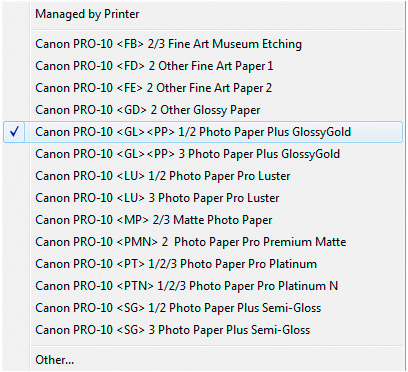
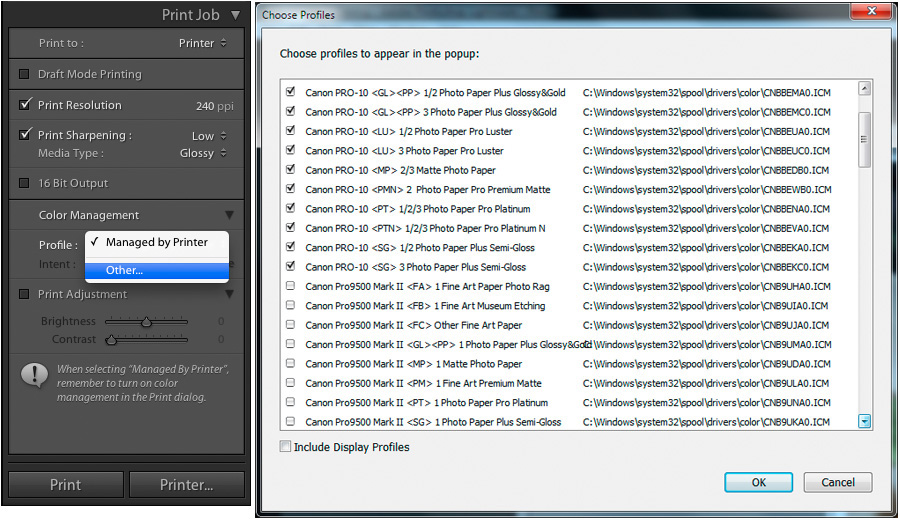
* Clicking Profile displays a list of installed profiles.
If a list is not displayed, select Other from the pull down menu and check the box next to the profile.
2-3 Select Relative as your rendering intent.
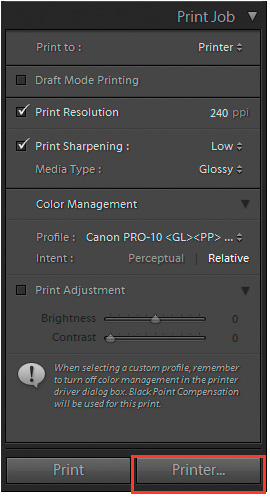
3. Printer Settings
3-1. Click the Printer button in the print module.
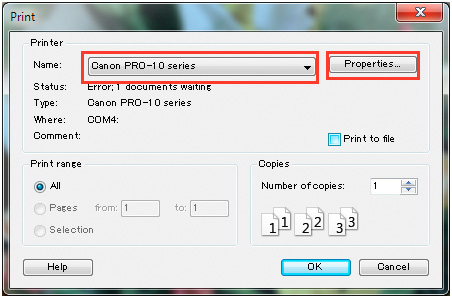
3-2. In the print settings dialog box, select Canon PRO-10 series from the list of printers and click the Properties button.
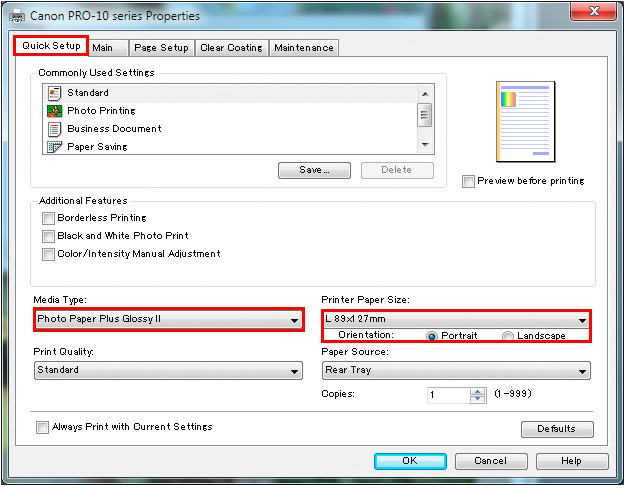
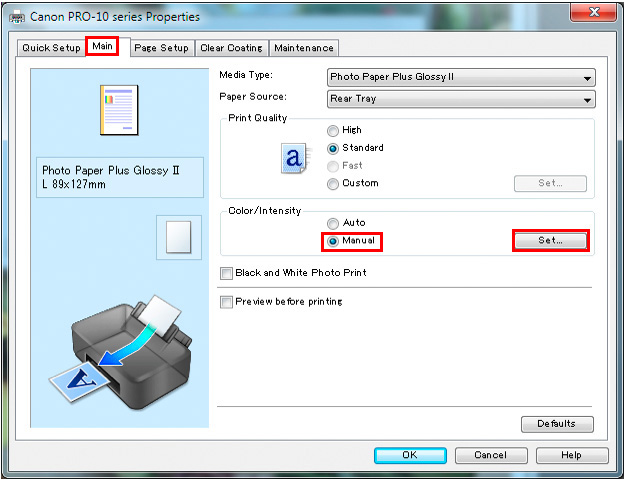
3-3. In the Properties screen go to the Quick Setup tab and under Media Type select the paper you will use (ex. Photo Paper Plus Glossy II).
3-4 Select the Main tab. Under Color/Intensity select Manual and click the Set button.
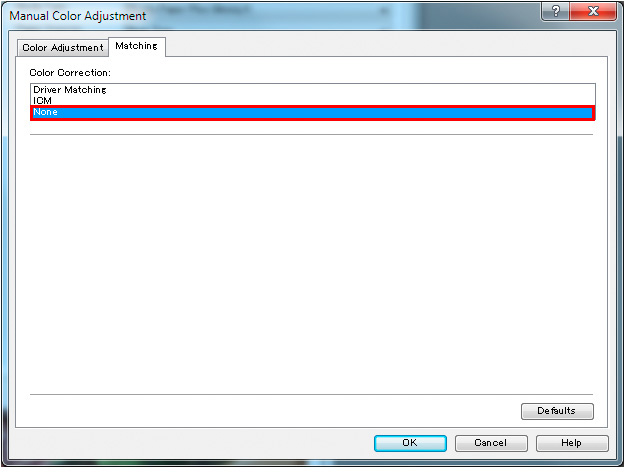
3-5. On the Manual Color Adjustment screen, select the Matching tab. For Color Correction, select None. Click OK.
3-6. Click OK once more to return to the print screen
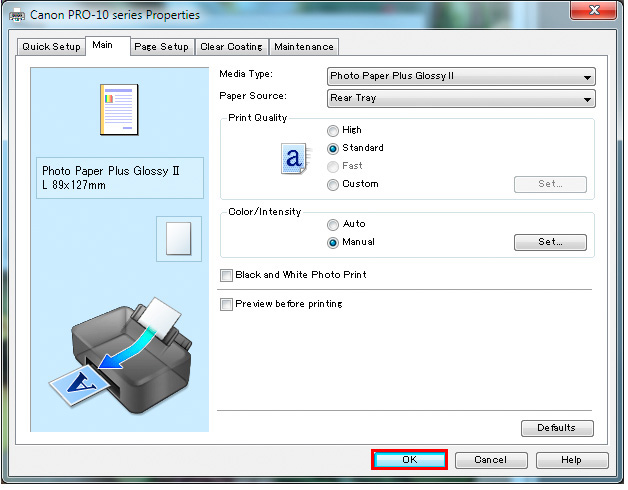
3-7. When you return to the Print dialog box, click OK to begin printing.

![Once you have successfully printed, return to Monitor Adjustment. Select your desired adjustment software. [Monitor Adjustment]](http://www.eizo.com/global/library/management/matching/printer/step_07_02.jpg)
 |
 |
- You can use the above map to return to any section of this guide.